
Buckeye Matrix hat geschrieben:PMR Disassembly Tutorial.
Matrixowner.com is not responsible for any damage you may incur while attempting any of the following procedures. You should not attempt this procedure unless you are confident and skilled in airsmithing. This is a step by step tutorial accompanied with pictures to help explain how to take apart your Proto Matrix Rail, do routine maintenance, and then reassemble your marker. We would like to thank Dye Precision, Dave Youngblood and Robin Niehaus for their support.
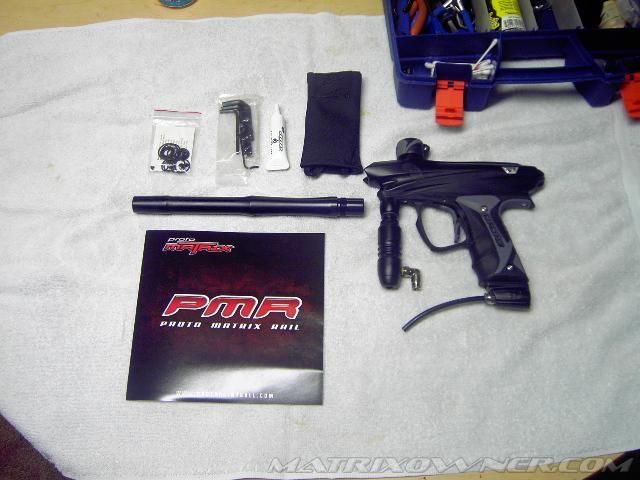
Step 1. The first thing when you receive your Dye PMR is to open the box and make sure you have the following items.
You will need a well lit work space that includes a way to keep the small screws, springs, and general pieces intact and organized. You should be able to take apart your entire PMR with the tools provided by Dye. However, I recommend that you have the following:
• The dye Allen set
• an oring pic
• a couple rags
• Slick Honey
• canned air
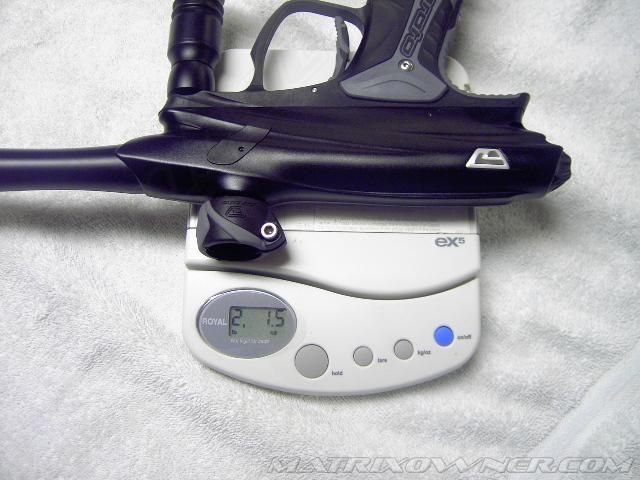
I have weighed the PMR with barrel, Hyper II inline, ASA, and macro line and it weighs in about 2.15 lbs! That is impressive!
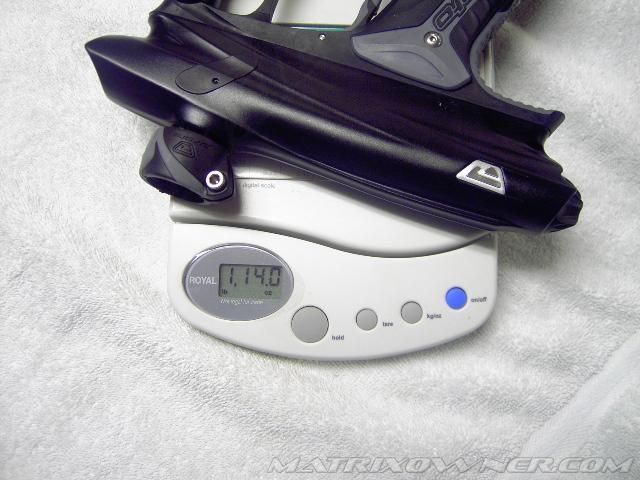
Body + Inline + ASA + macro line= 1 lb 14 oz
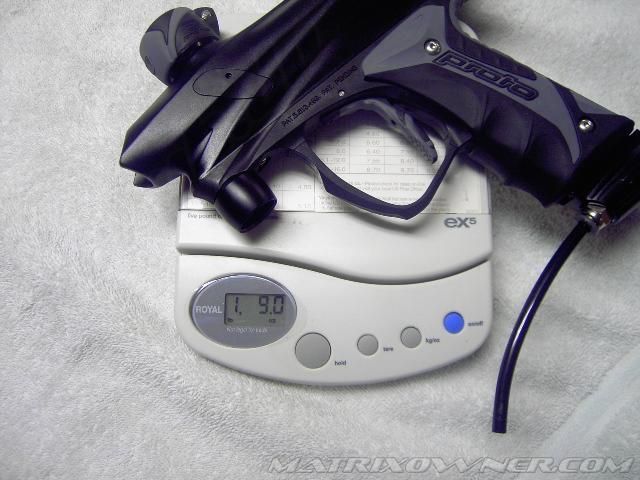
Body + ASA + macro line = 1 lb 9oz
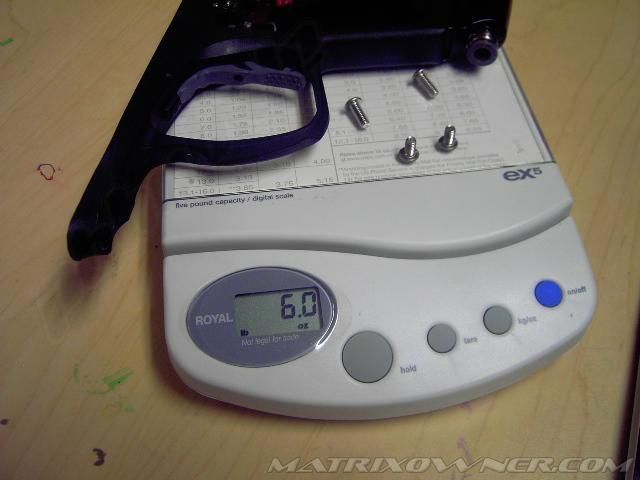
Grip frame + ASA = .06 lbs or 6 oz
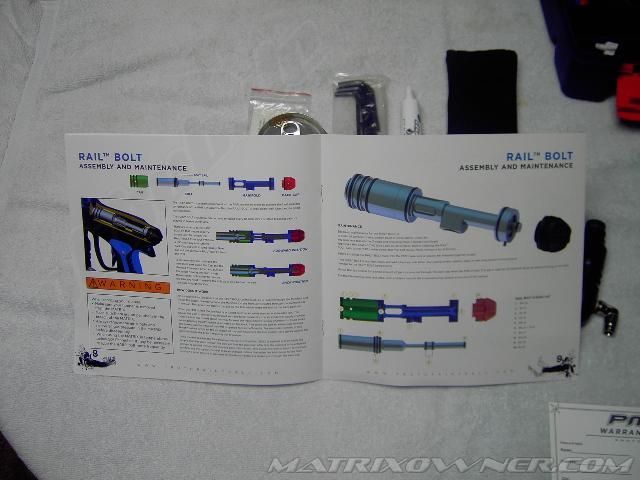
Step 2. Get your manual from your box and read it from cover to cover. This gun introduces new technology to the matrix line and you should be familiar with it before you take the gun apart. I still have the manual out and open as I went along just to be safe. The manual is an excellent reference tool and Dye went to a lot of trouble to make a simple and user friendly manual with fantastic pictures.
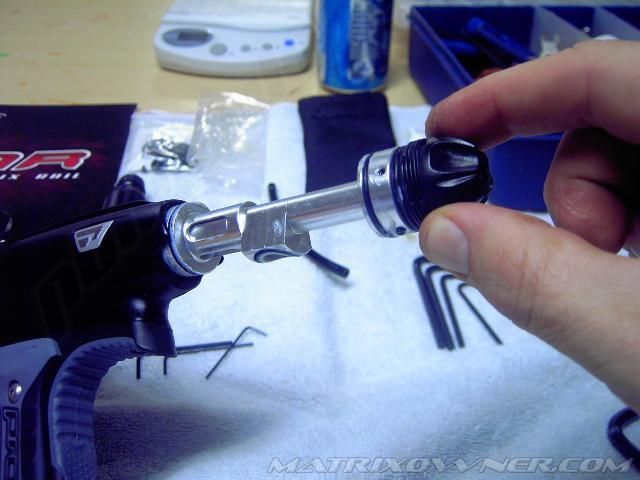
Step 3. Removal of the Rail Bolt.
The Rail bolt is a modified version of the Fuse Bolt, but it is different enough that it is now trademarked as the Rail Bolt. I will refer to it as such. The only similarities between the two are that they are spool valves, they have beer cans and bolt sails. The rest of the bolt is different as you will see. Ok, getting started I recommend you take out the Rail Bolt first and clean the dye lube off. Use the ¼ Allen from your Allen set. Turn the back cap counter clockwise and pull the bolt out.
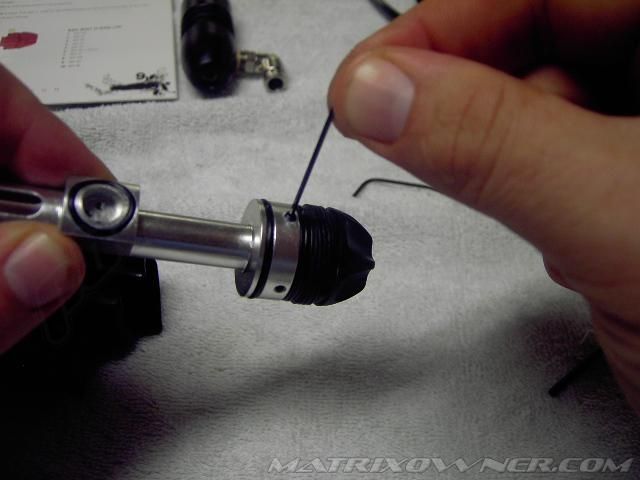
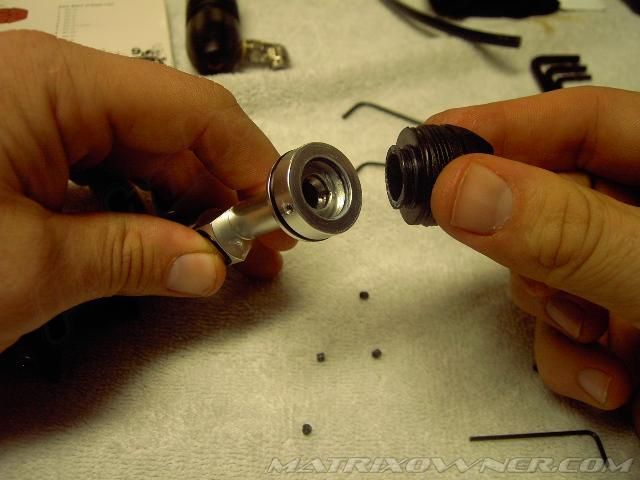
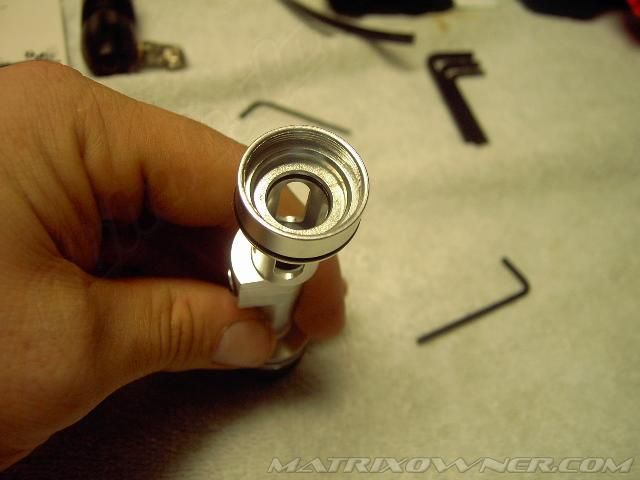
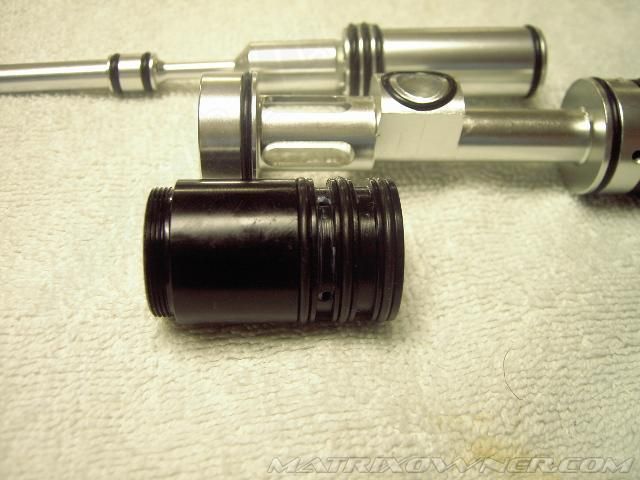
Here is where the differences start to really show up. The back cap is hard composite and it rotates 360 degrees around the back manifold part of the bolt. The back cap is black and the manifold is silver in the two pictures above. The back cap HAS to be able to rotate 360 degrees or when you reinsert the bolt. The manifold wont line up with the air passage in the tube of the gun. There are set screws located around the perimeter of the back cap. This is so you can take the cap off and replace an inner oring inside the back part of the manifold stem. I recommend NEVER taking this off unless you have some sort of leak do to change a bad oring. You can see what I am referring to in the pictures below.
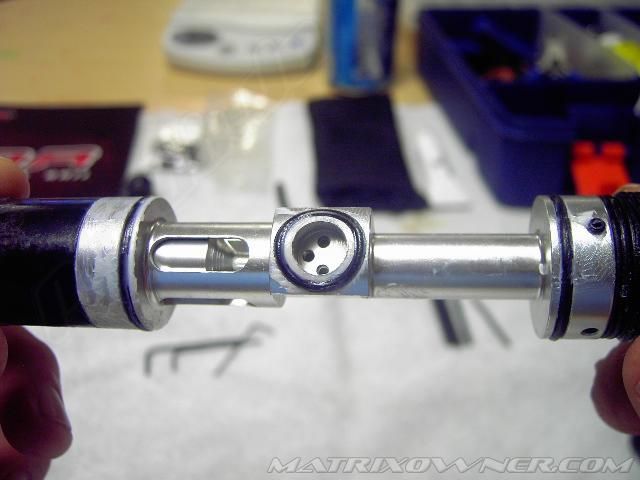
In the middle of the “Manifold" part of the bolt you can see some new design features along with some familiar ones. In the center of the manifold you can see a box that contains a concave shape topped with an oring. This is where air from the inline fills the supply chamber. As the solenoid moves the bolt forward the supply chamber is closed but the pressure from the inline helps move the bolt forward. This is the “boost” feature. So the initial contact with the ball is very, very light and then the bolt is accelerated past the spool valve to release the air. In simple terms there is in essence 2 bolt sails. One is used by the solenoid and the other, (which looks like the stem on a fuse bolt,) is moved by air pressure waiting to get into the supply chamber. THERE IS NO LPR ON THE RAIL.
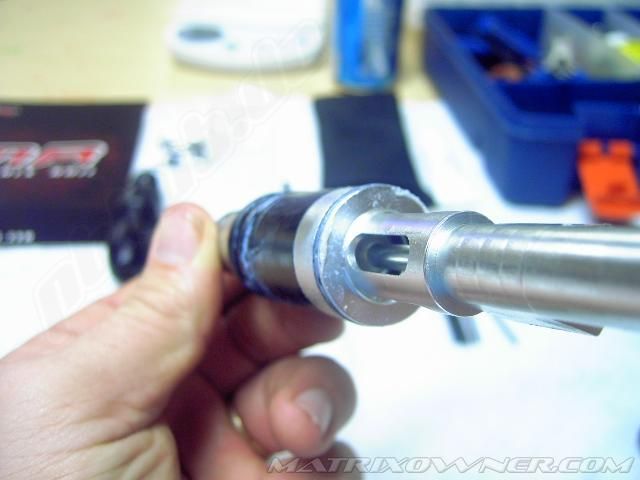
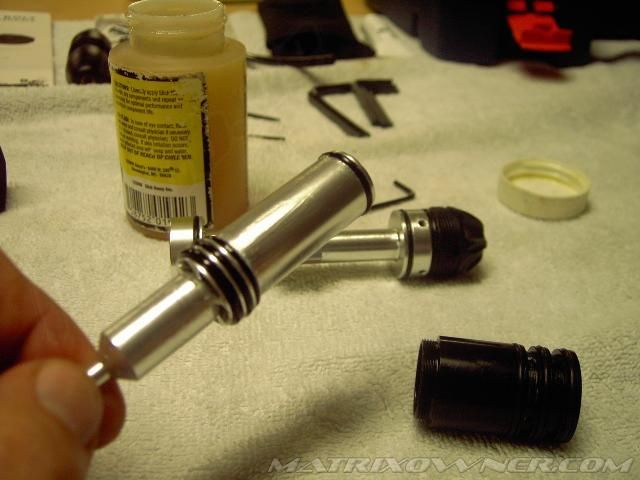
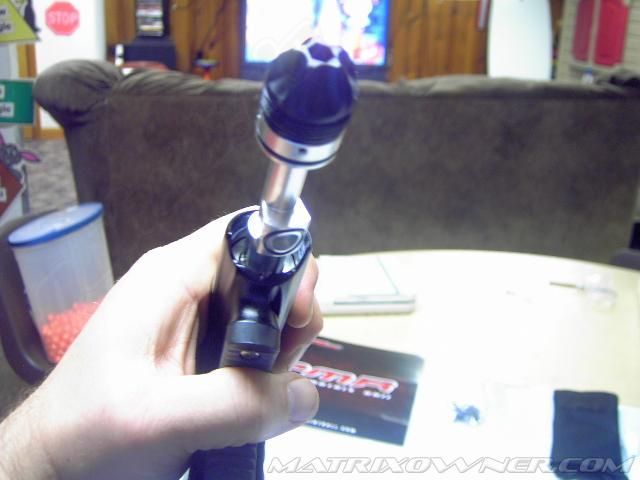
In the next picture you can see that I am pointing at the Top Hat portion of the bolt which is located on the manifold piece of the bolt kit.
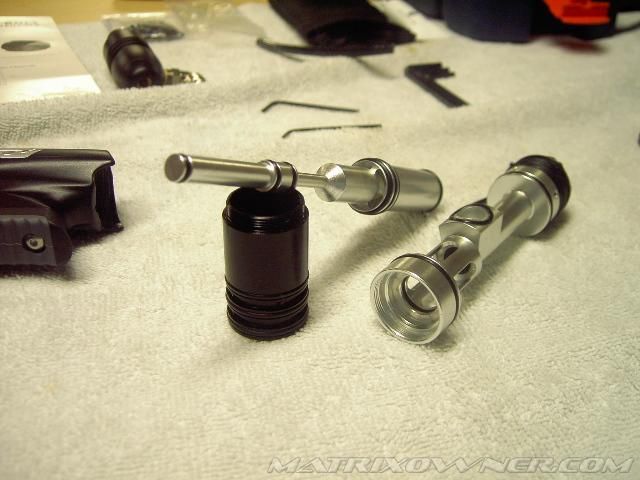
Here are the pieces together. You can see the bolt sail on the front of the bolt as well as the beer can which is redesigned but behaves the same way.
I want to point out one of the strengths of Dye is that they listen to their customers and they observe some of the ideas that come from this website. For years MO has advocated that when a player receives a new gun, they take out the bolt, clean it, and replace the urethane orings with buena. On the Rail Bolt both the top hat oring and the beer can orings are buena. That makes for better movement of the bolt and a better seal. We complain,…… Dye listens. I don’t know of another company that pays so close attention to the details that players complain about and then fixes them. For those of you that need orings anyway here are a few suppliers.
www.compulsivepaintball.com
www.air-oil.com
www.mcmaster.com
Step 4: Bolt Maintenance
Quoted from Macky and agreed upon by the Agents at MO.
“Lets talk lube first, preferred choice of Lube is Slick honey. If you do not have Slick Honey, a mix of DOW33 with Gold Cup oil is recommended. 3 parts DOW33 to 1 part Gold Cup works great. It should have the consistency of Pudding. Straight DOW33 is OK too but requires more frequent cleaning.”
“I know a lot of people said slick honey does not perform well in the cold. I have found that this is mostly due to the over lubing with Slick Honey. I have played plenty in the cold and I still use Slick Honey with no drop off. In the picture below is what I will refer to as a DAB of Lube. Sorry it’s the best technical term I can think of right now. My DAB might be a little bigger because I have big hands so use best judgment.”
“This by far will make your bolt butter smooth, allowing for lower LPR and Dwell settings. DYE uses the 017 UR70 (Urethane) o-rings because a lot of debris/paint/dirt can get in the breech and cause the o-ring on the beer can to leak. They did not want to get a ton of repairs to replace an o-ring. I have not found the need for a tougher o-ring. So if the Buna makes the Bolt smoother, then I am using it.”
Now to actually lubing the bolt. Take (1) DAB of lube and lube the Bolt sail o-rings and the metal in front and behind the bolt sail.
Next take (1) DAB of lube and lube the bolt plunger.
Next take (1) DAB of lube and lube the beer can, start with the 017 O-ring and then coat the inner surface. Use the excess lube and apply to the outer #20 o-rings. It won't be that much but you don't need a lot.
Next take (1) DAB of lube and lube the top hat start with the 017 o-ring and the inner surface of the top hat.
If needed just get a touch more lube and lube the 013 o-ring, then use the excess and lube the outer #20 and the portion of the bolt stem that the 013 o-ring makes contact.
Use the excess lube on your finger to lube the #20 o-rings on the Back cap.
Set your Fuse bolt aside and out of the way. It will be one of the last pieces you put in your gun during reassembly.
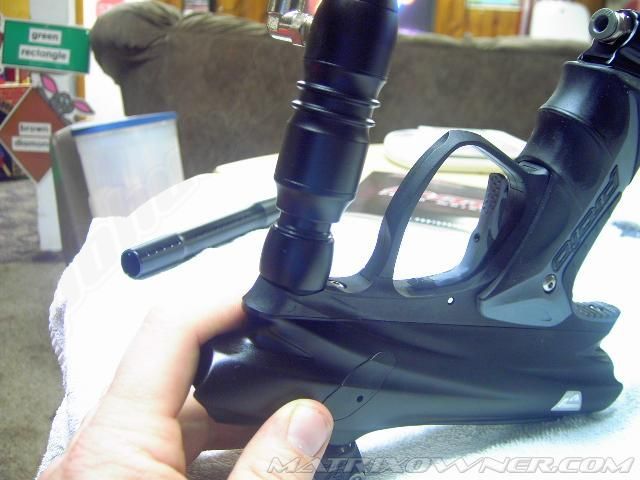
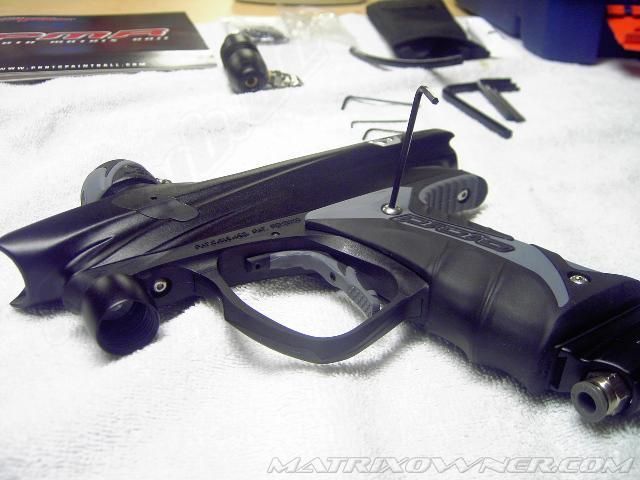
Step 5. Taking off the grip frame.
Remove the Hyper II regulator.
Next you will first need to take off the sticky grips. Use a 3/32 Allen to remove all six screw from the grip.
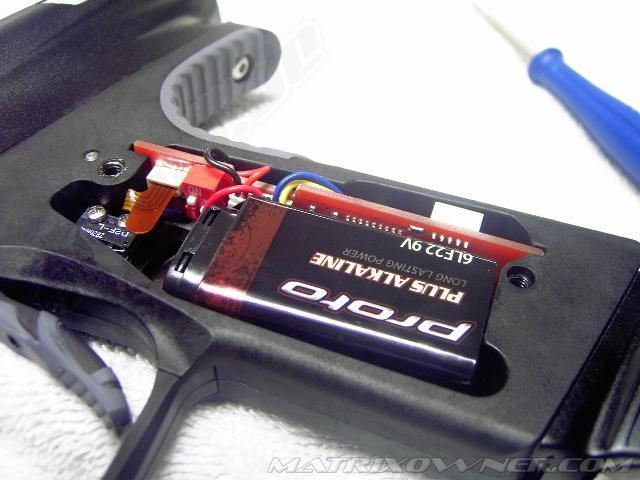
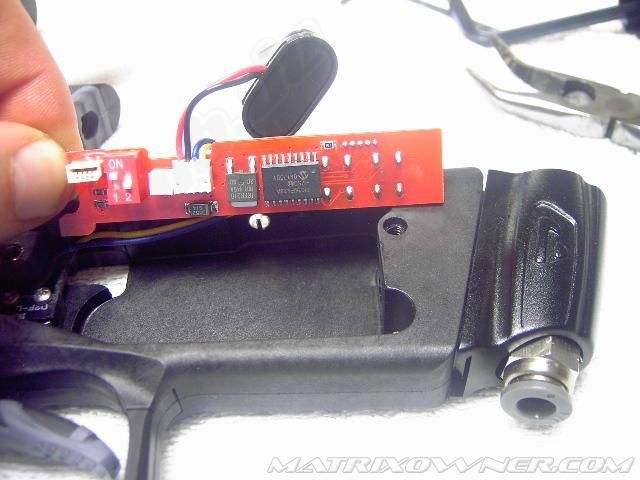
The PMR board looks to be the same as the PM7 board. I don’t know if they are programmed differently and I don’t have my PM7 handy so I can’t make a direct comparison. But here are the photos.
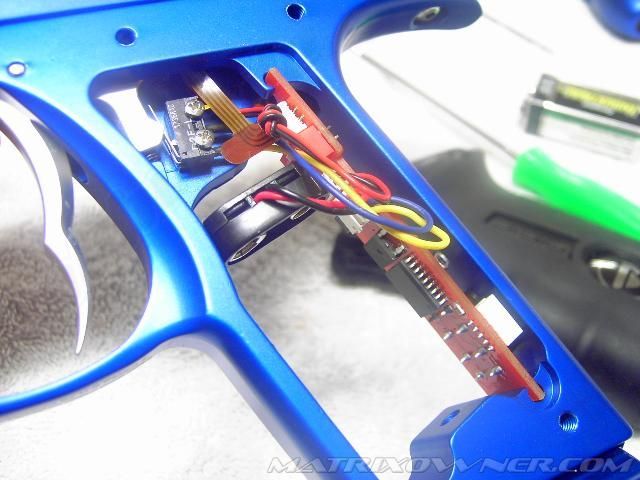
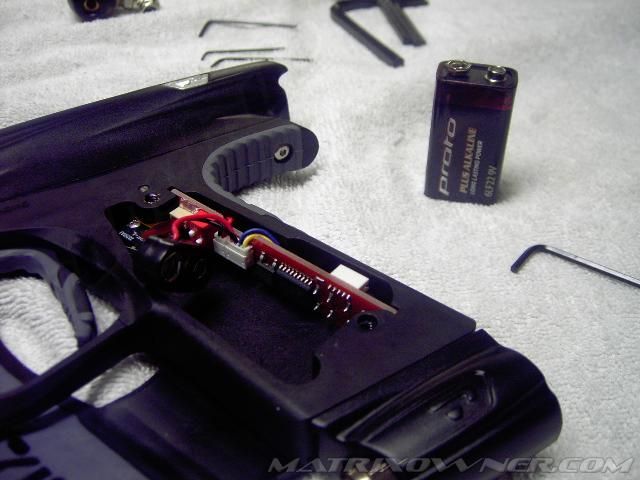
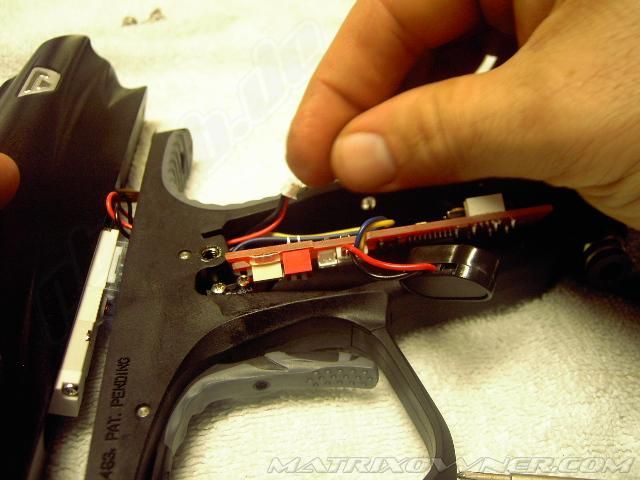
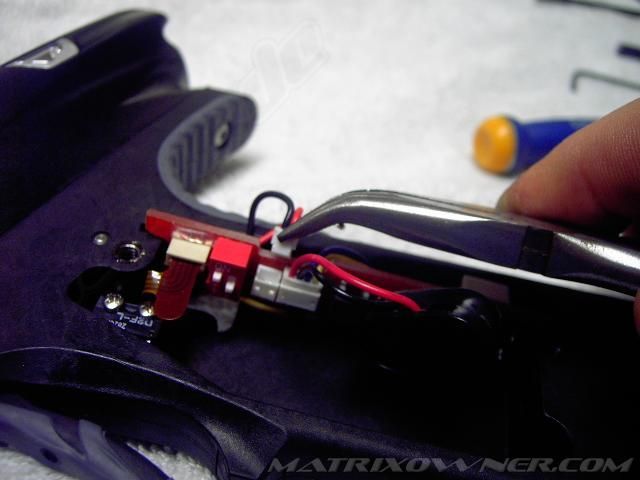
The board sits perpendicular to the frame. There is a battery harness that is connected with the eye wires into a 4 prong port. The solenoid has a 2 prong port. The battery connector has a much beefier and sturdy connection than the previous connectors on DM4’s and DM5’s. You should also note that the board is not screwed into the frame. It snaps in. Until you replace this board with a top notch board such as a Tadao then I recommend not touching it. Tadao currently has an insane board for this gun so be ready for some serious performance from Will and the gang.
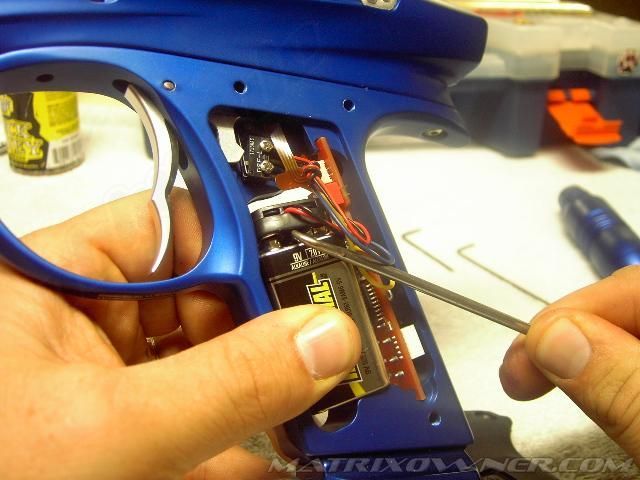
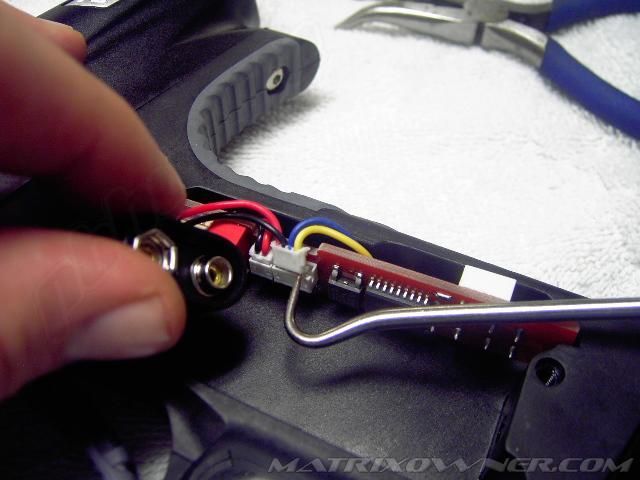
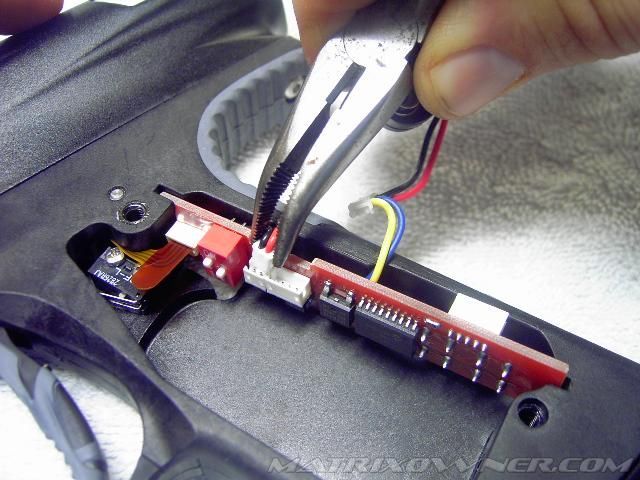
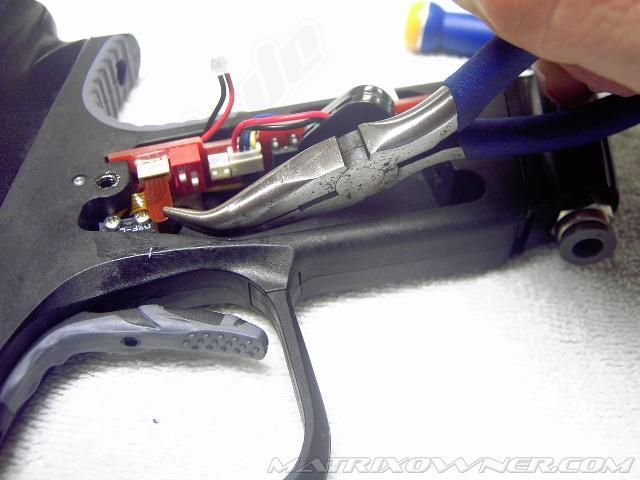
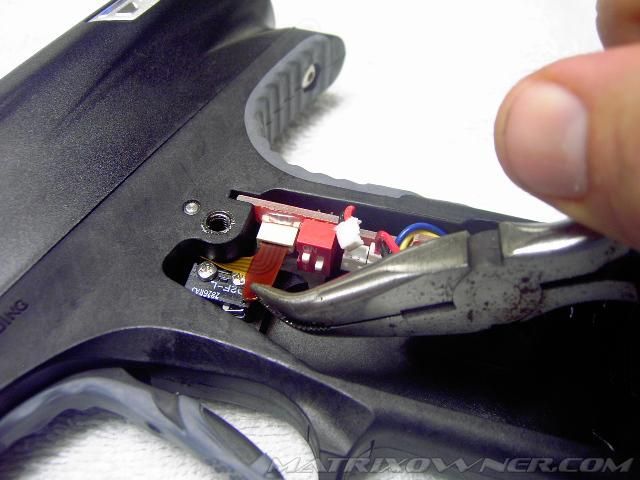
Next you will need to disconnect the solenoid wire harness and the eye ribbon so they do not rip or break when pulling off the frame. I needed to take out the micro switch plug so I could get at the solenoid plug. I could not fit my fingers around the eye ribbon so I used a set of pliers. Do not crunch down with the pliers on any of the conduit lines in the ribbon. There is a tab which you can grab.
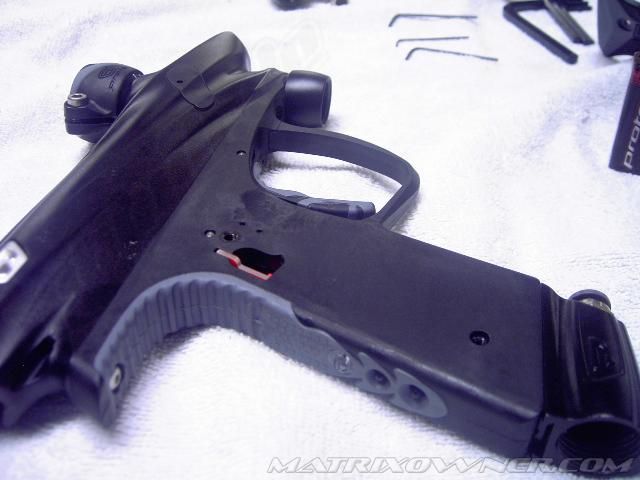
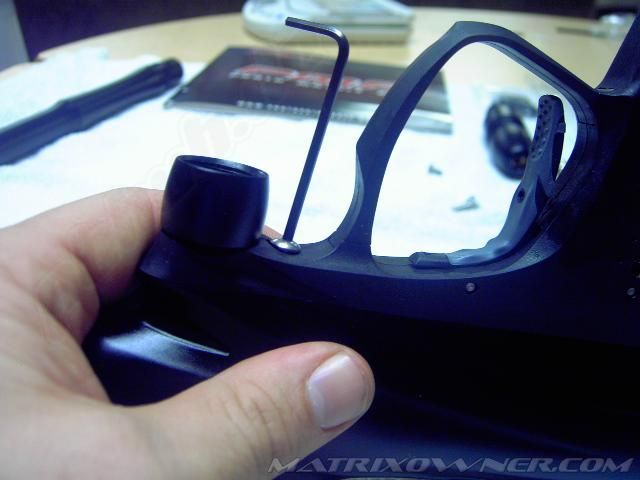
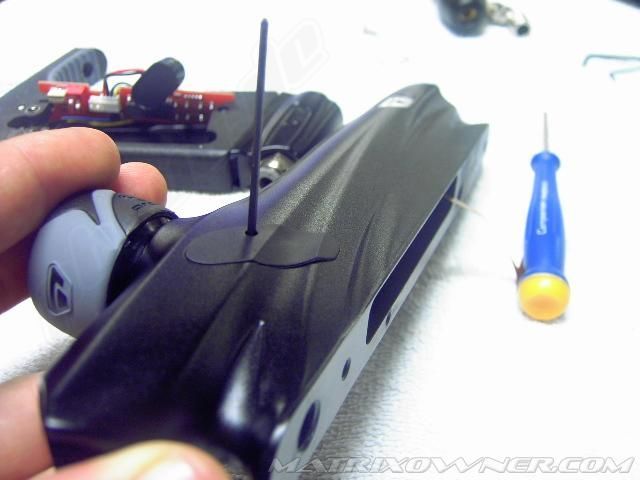
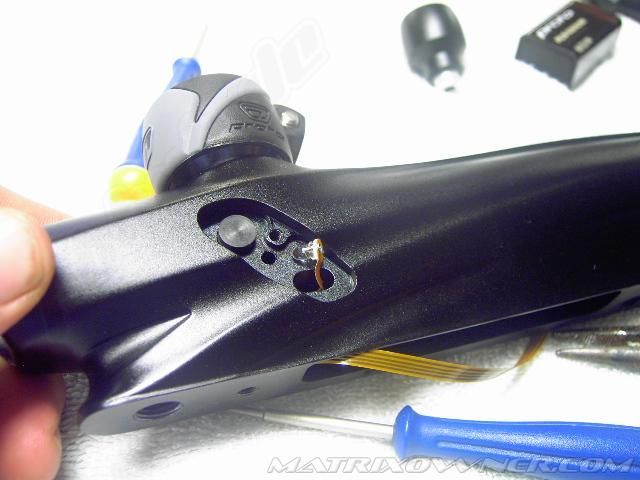
I want to quickly point out the unique way that Dye has improved their rail system. They have added the built in dove tail rail much like the DM5 and the PM7. You access the set screw from inside the grip. Make sure the battery is out and access is easy.
Using your 3/32 Allen loosen the front frame screw by turning it counter clockwise.
[
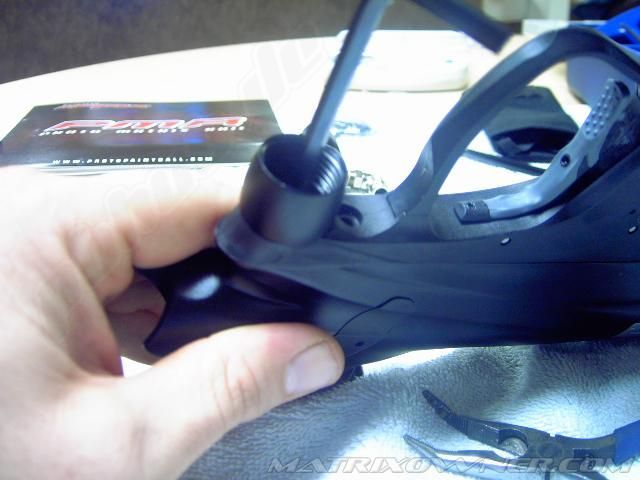
Next you will need to take off the inline asa by using the 3/16 wrench in your tool kit.
Using your 3/32 Allen loosen the rear frame screw by turning it counter clockwise. Take this screw out and place it in a safe place.
Now carefully pry up the board so you can get the solenoid plug behind the board and out of the frame.
Remove the grip frame making sure not to pull on the solenoid and eye ribbon.
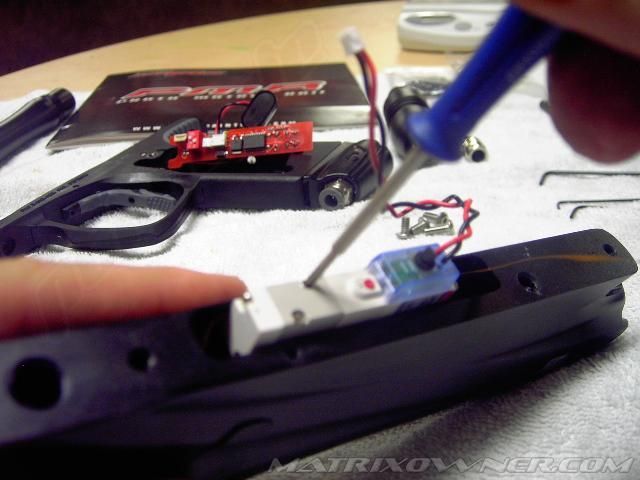
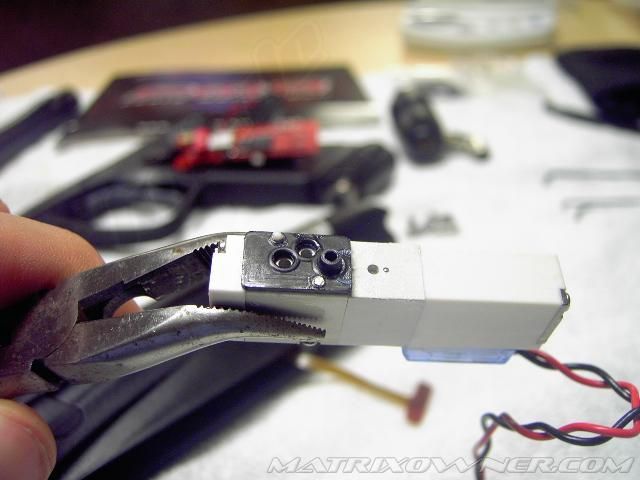
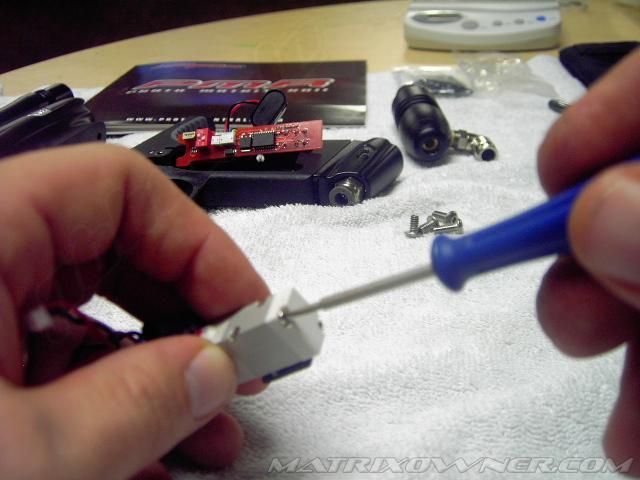
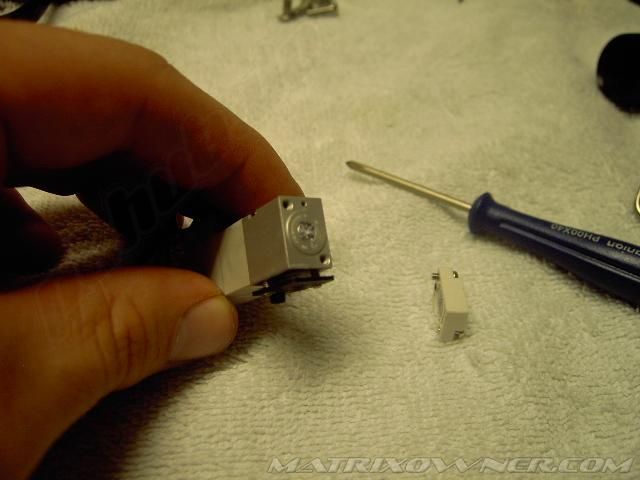
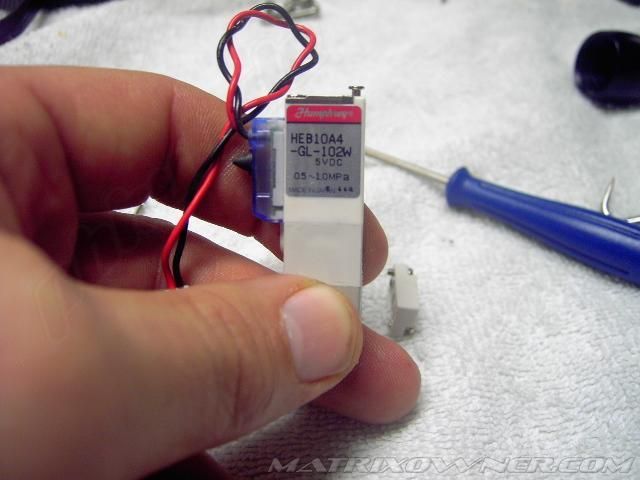
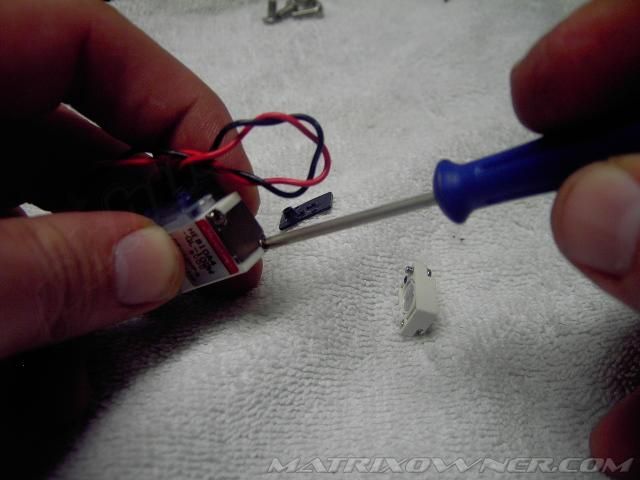
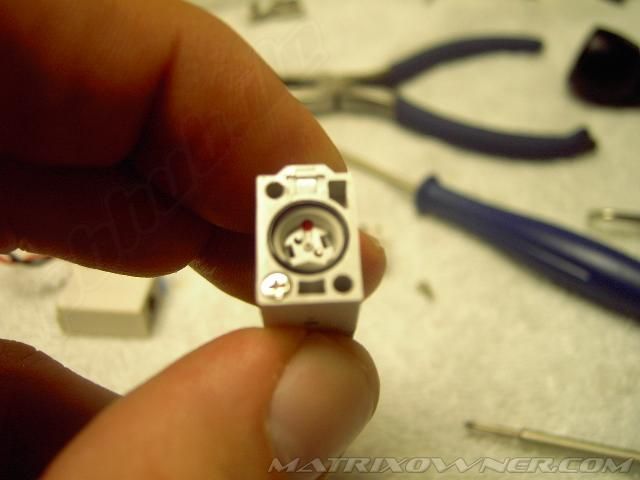
Step 7. Removing the solenoid/ exploded view of solenoid. I do not recommend you take out your solenoid and/or take it apart. You are asking for a world of trouble and Dye considers this a breach of warranty. This solenoid is a completely new design. NEVER, NEVER take it apart. This solenoid has parts smaller than a human hair. I have included the steps in this tutorial so everyone can see how it is done and what the pieces of the new solenoid looks like. You will need to be very careful of the eye ribbon when you put the solenoid back.
Step 8. Taking off the eye cover plates to change detents or clean eyes.
Take out your 1/16 Allen wrench. Simply insert the Allen wrench into the hole in the eye cover to access the retaining screw.
As you back the screw out, the plate will be pushed up. You will now have access to the detents, the eye and eye ribbon. The detents are standard Proto rubber nubbins. There is an eye ribbon instead of an eye wire. Be careful with this ribbon. Gently pull out the eye with an oring pick and you should be ok.
Just as in the new PM7 you will able to use spring loaded detents from a DM5 or a DM6.
YOU HAVE NOW TAKEN YOUR PMR COMPLETELY APART. NOW JUST REVERSE YOUR STEPS AND GO SLOWLY.
REASSEMBLY.
Step 9.
Put eye covers on.
This is done by putting the detents in their holes and making sure the eyes are snug in their holes. Put the eye cover on and tighten down
Your solenoid should already be in the body since you did not take them out. Right? (Wink!)
Step 10 . Next you can put the frame back on the body. Make sure you do not pinch the solenoid wires and the eye ribbon. Reconnect the eye ribbon and solenoid plug into the socket. Put the battery in and replace the grips.
Step 11
Next you want to put your rear frame screw back through frame and into the body and tighten down. Don’t over tighten.
Now put the inline asa back on and then tighten.
Put the front grip frame screw through the frame and tighten.
Place your battery back into the frame after you have connected it to the battery harness and put your grips back on.
Step 12
Reconnect your Hyper II and follow the next step to the letter.
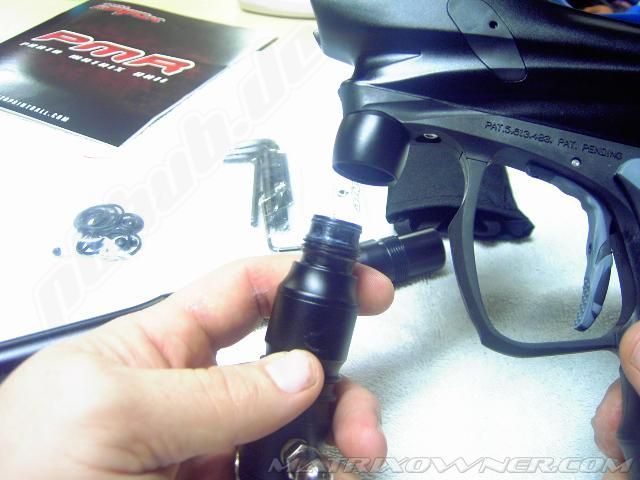
Step 12 Putting in the Rail Bolt.
In order for you to avoid a HUGE problem you will need to put the Rail Bolt back in correctly. There is an air hole inside the body just off center from the bottom of the bolt tube. You need to try to line up the Rail Bolt as I have it in the picture.
Make sure your end cap can turn 360 degrees. If it is tight then when you tighten the bolt kit it will turn away from the transfer tube hole and the gun will not work properly. Line it up, push the kit in and tighten the end cap. The end cap is composite so don’t tighten it over tight. There is no need to. The kit is sealed. Now air the gun up and make sure it fires so you know the kit is in correctly.
If you find any mistakes or have any questions just post here and we will fix them and answer your questions.


Wieder vielen Dank an Buckey Matirx von Matrix Owner.