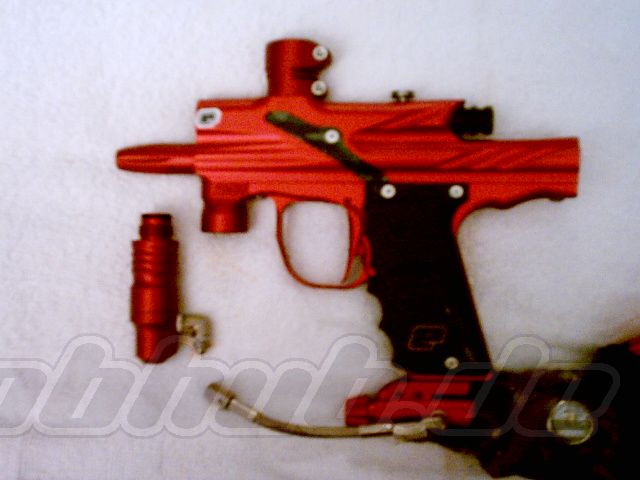
Ego Regulator
Verfasst: 11.01.2005 10:22
von pbnationOriginally posted by R3MY
As promised, here it is. This information can alson be found in the manual.
Supplies:
Lube (dow-33, vaseline, slickhoney, etc.)
Gun-Oil (gold cup, PMI, etc.)
Allen Wrenches (3/32nd)
Needle Nose Pliers
Towel/Rag/T-shirt
Q-Tips
Step-One: Disassembly
Remove the reg. from the EGO asa. Remove your macroline or steel braided hose from its connection.
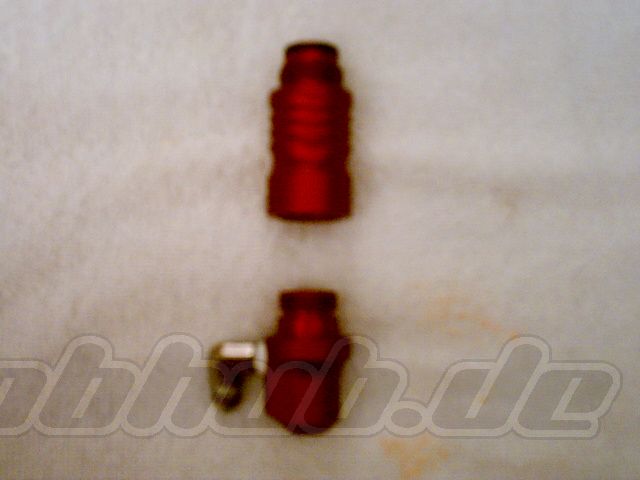
Remove the bottom of the regulator by turning it counter clockwise (this may take some time, I had to use a strap wrench and a towel).
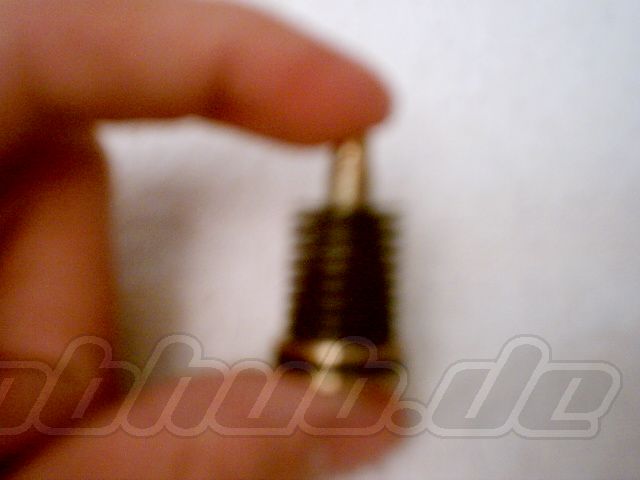
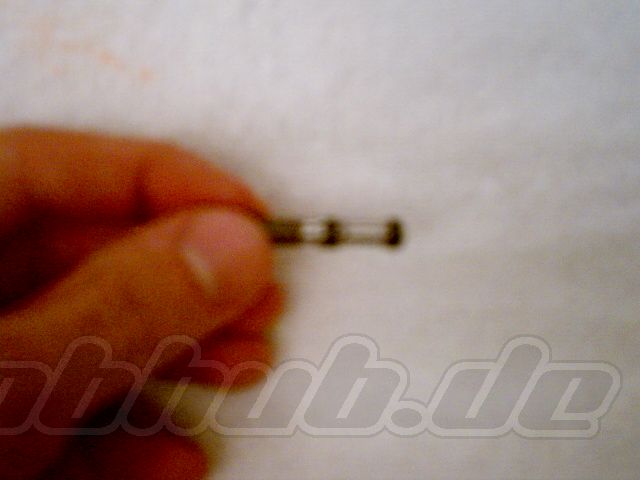
Make sure you hold the reg. upside down and remove the bottom half of the reg. Inside the top half is the piston and washer stack. To remove the plunger take the needle nose plyers, grab the top of the plunger and simply pull it out (you can also take an allen wrench or sumthen and push it out through the top). Now insert the 3/32nd allen wrench into the bottom of the regular and screw clockwise (inward). Keep screwing until you don't see the screw making any more progress. Then push up on the allen wrench and the screw will pop out.
Step-Two:Lubrication
Use the Q-Tips to wipe away any dirt, oil, or paint that might be inside the top half of the regulator.
Now take the piston and wipe away any dirt, oil, paint whatever may have collected on it. Take a little bit of the lube (i used dow-33) and rub a light layer onto the o-ring.
Now take the screw from the bottom of the regular out. Use the Q-Tips to wipe away any dirt, oil, or paint that might have collected in the bottom of the regulator. Now wipe away any oil, dirt, or paint that may be on the top of the piston. Take the gun-oil and put a couple drop on each o-ring and lighlty rub it in.
Step-Three: Reassembly
Take the piston and washer stack and place them back into the top part of the reg. (the disk on the bottom goes in first, washers go in last).
Now take the screw and push it back into the top of the bottom part of the reg. Screw counter-clockwise untill the screw will not turn any more (this is tricky. you have to take an allen wrench and put it on the top part of the bottom of the reg. and push it against sumthen like the wall or the floor. while ur pushing it in screw the screw counter-clockwise about 1 1/12 turn and it should catch the threads). Once the screw will not turn anymore screw it in 2-3 turns and that should put the reg at about 300-350 psi.
Now take the bottom half and top half and screw them back together. Then simply screw it back into the EGO asa and connect your macroline or steel-braided hose.