I bought HawkICD's special kit that he his selling, the one that is supposed to make efficiency as good or better than a Freestyle v7. If you have a Gen1 or gen2 or even a freestyle with an HE bolt, and you can't get your money out of it (you know prices are low now especially on gen FS) then you might want to get this kit... Make your Gen1 perform like the latest and greatest!
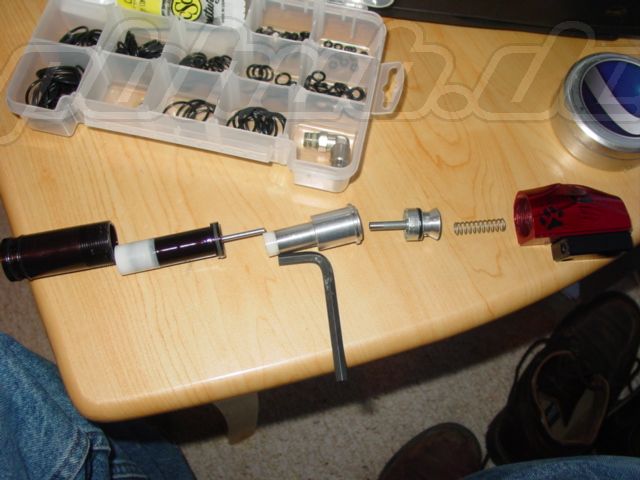
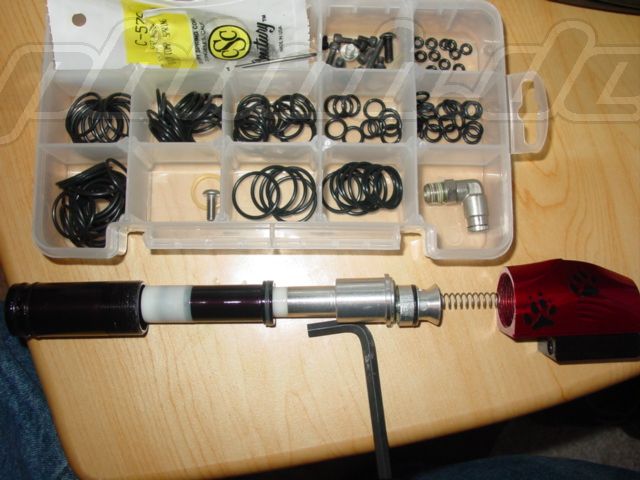
Here you can see all the bolt parts. The bottom set is the stock gen1 parts, while the top is HawkICD's upgraded parts. I did make one mistake though, I put the upgraded bolt shaft on the bottom instead of on the top. You can tell though that it's the upgraded one because of the long shaft sticking out.

Here you can see the long shaft coming from the valve pin that seals off the chamber when the bolt is forward.

Here you see the assembly that slides inside the backblock. This is what the oring on the end of the long shaft seals against.
This shows the different dimensions of the valve bodies. Hawk's kit appears to use HE bolt geometry as a base. The bottom is the stock gen1 part.

Here you can see that in Hawk's kit, the diameter of exhaust hole in the valve body is larger. This will mean more force pushing the bolt forward but also will allow the air to vent faster. The new, higher-pressure solenoid allows higher LPR pressures in order to hold the bolt back against the increased forward pressure.
Here you can see that unlike the normal valve body, Hawk's kit has a bored-out valve body to create more volume available to dump out the exhaust valve.
Here you see the milling required inside the backblock to make a gen1 backblock accept Hawk's kit.
Here are the new solenoid and manifold parts. You can see that the hole pattern is different, but also that the new manifold uses orings instead of a gasket to seal. This seems like a more leak-proof solution and might be necessary because of the higher LPR pressures this solenoid will run at. Note the pressure range marked on the solenoid, 70-225 PSI.

[/img]